Welcome

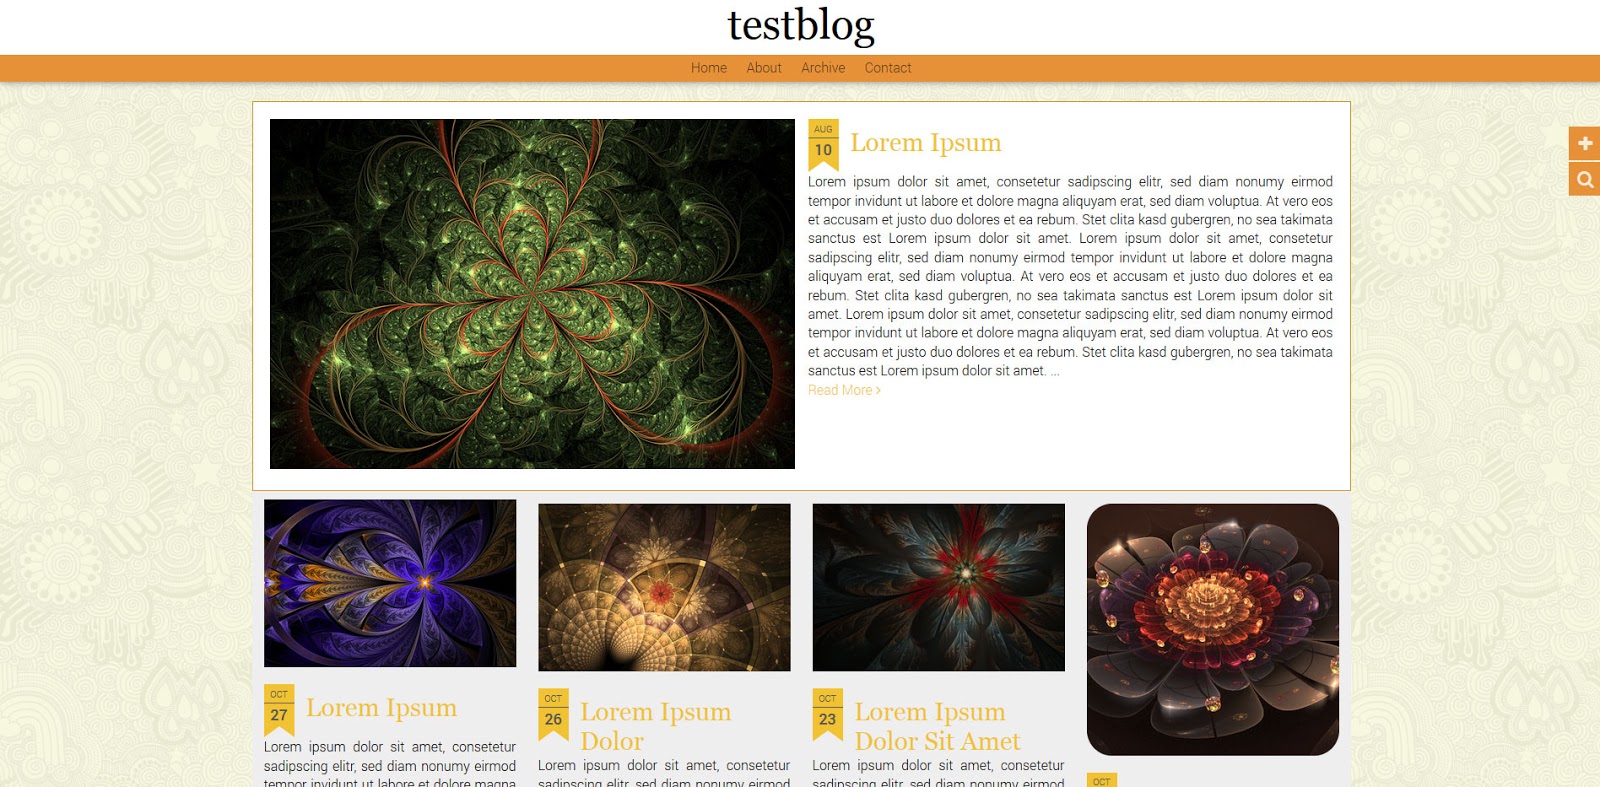
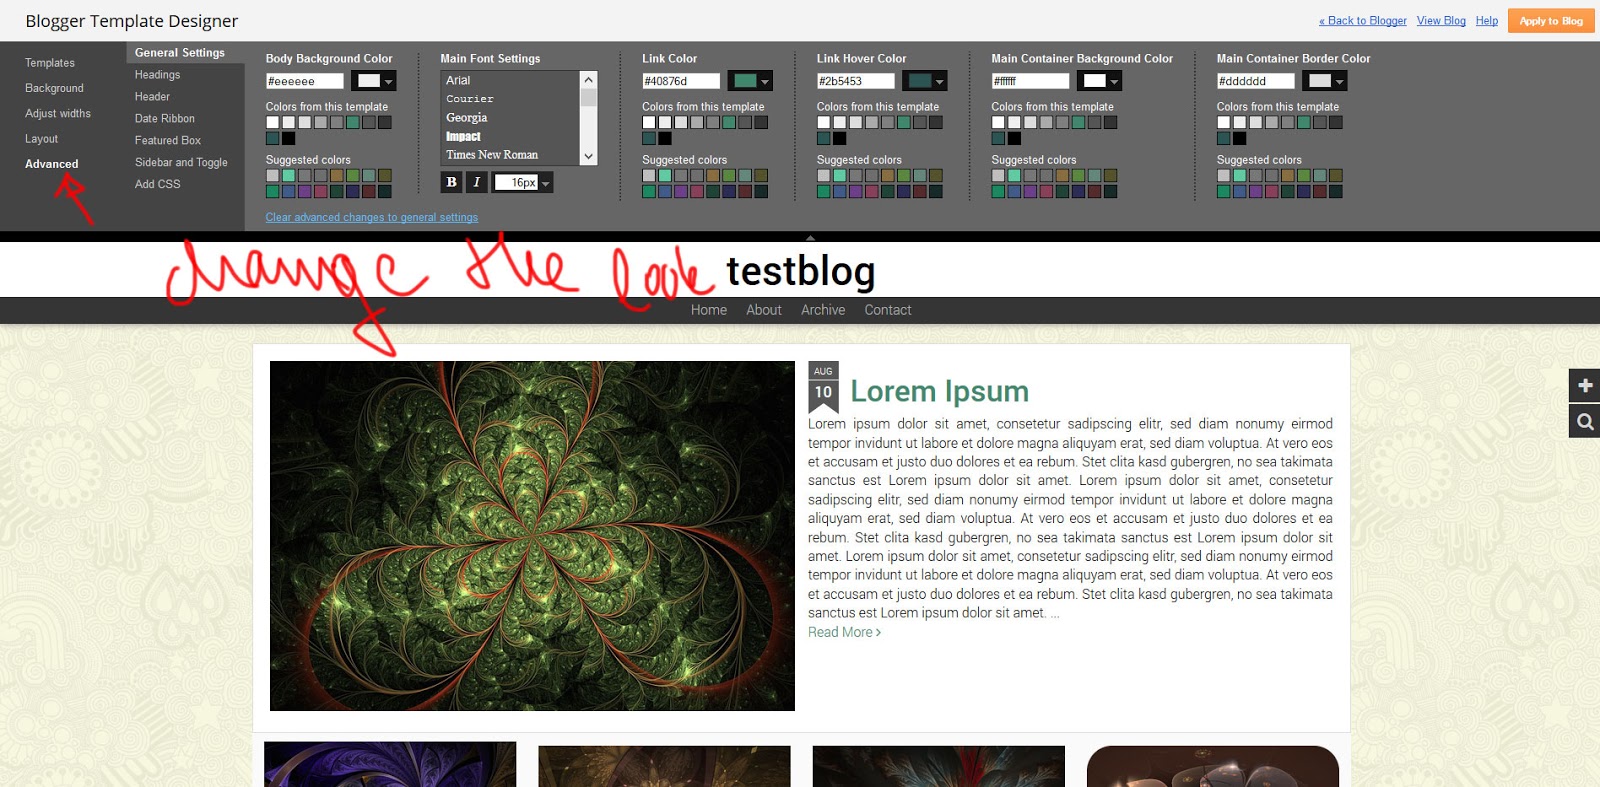
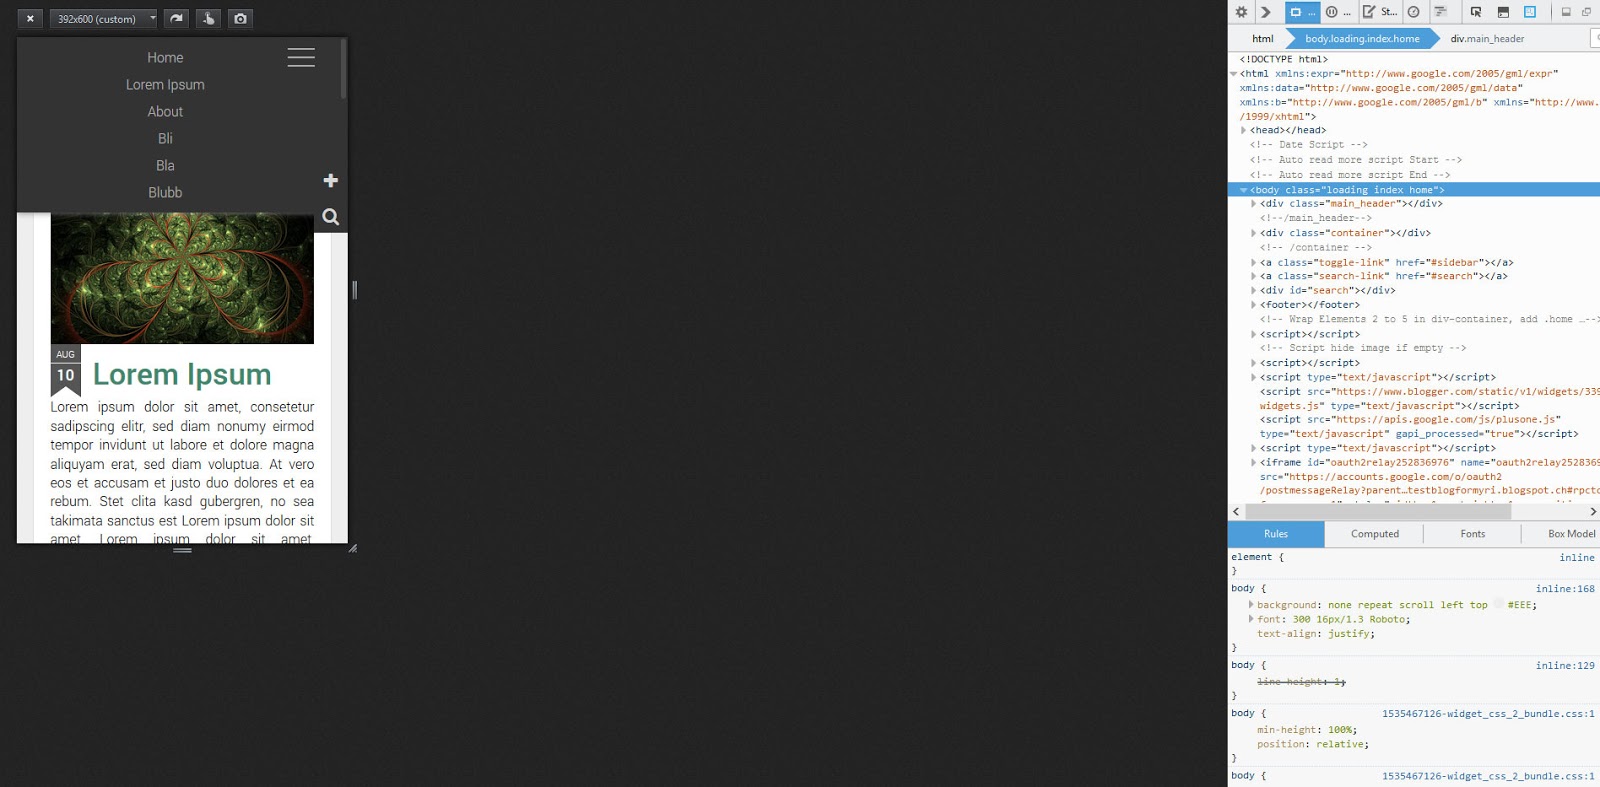
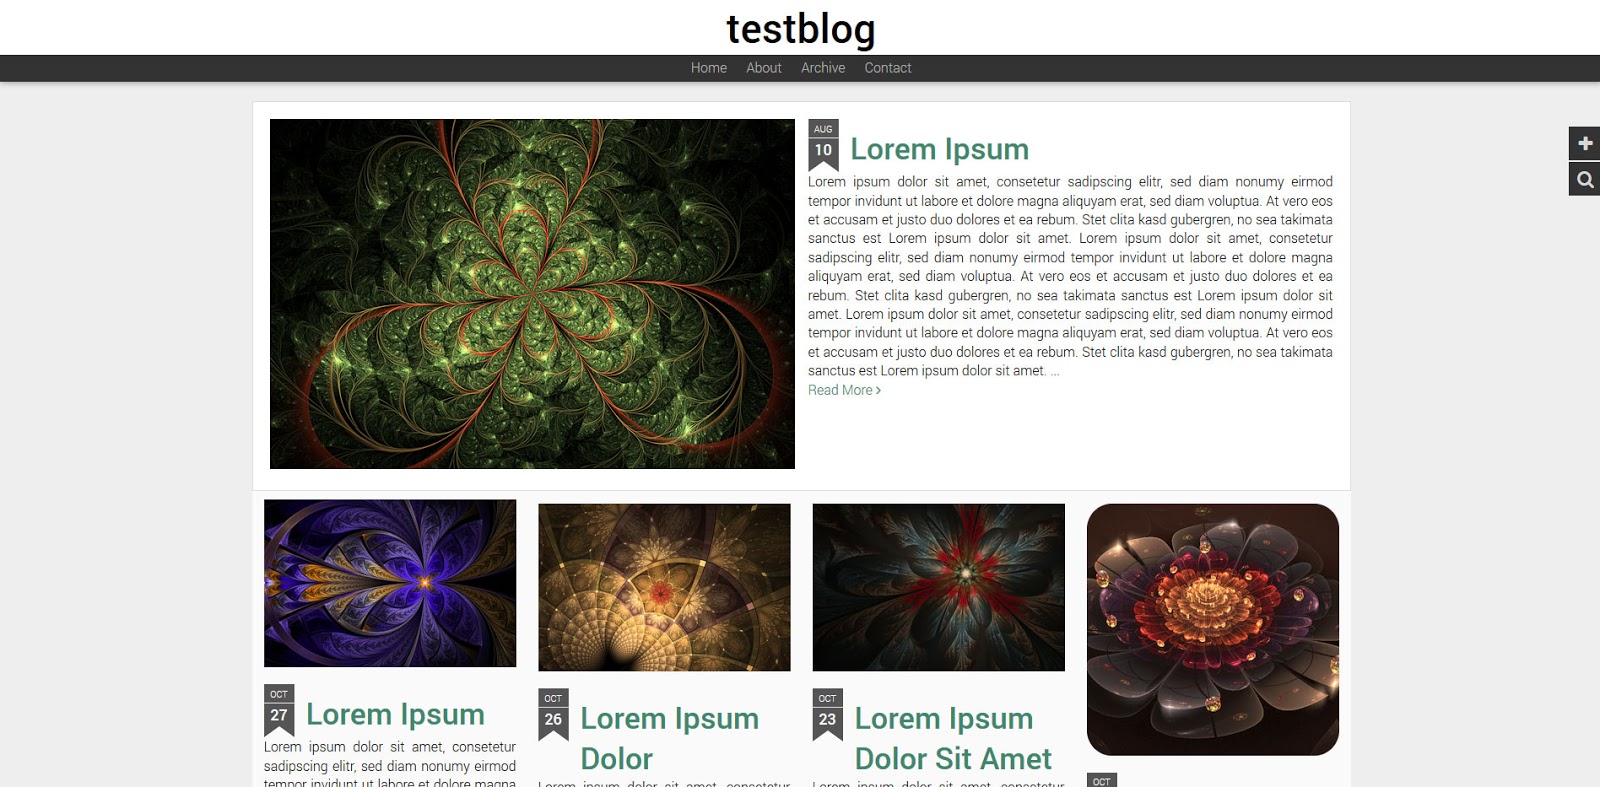
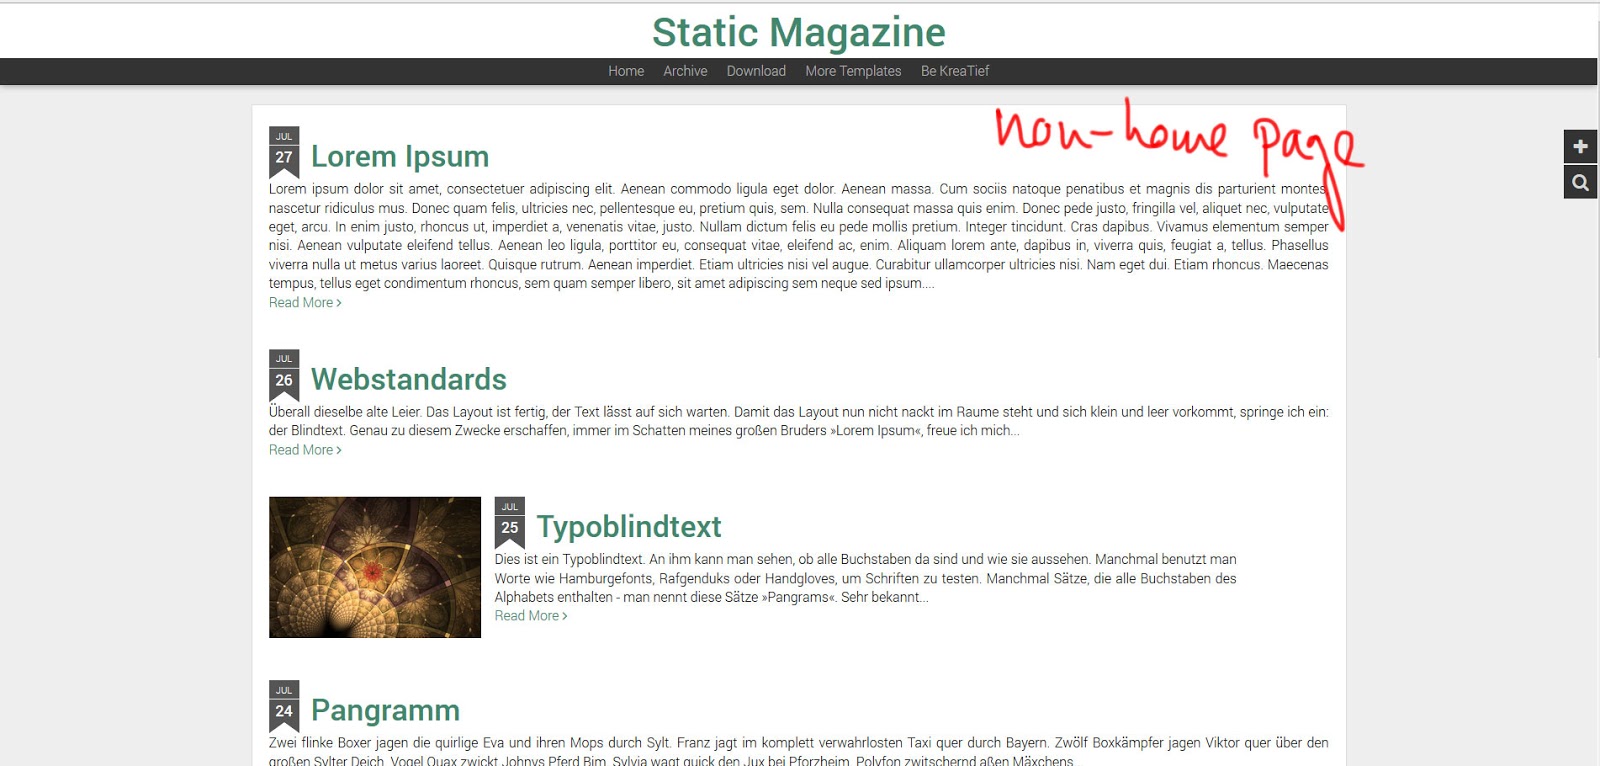
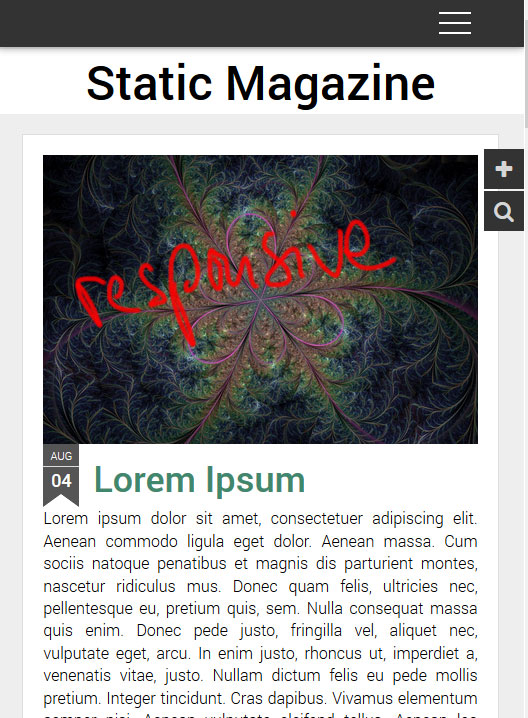
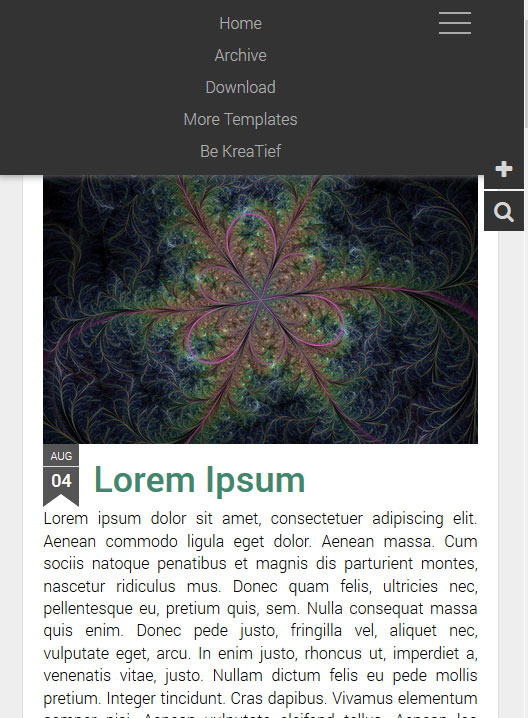
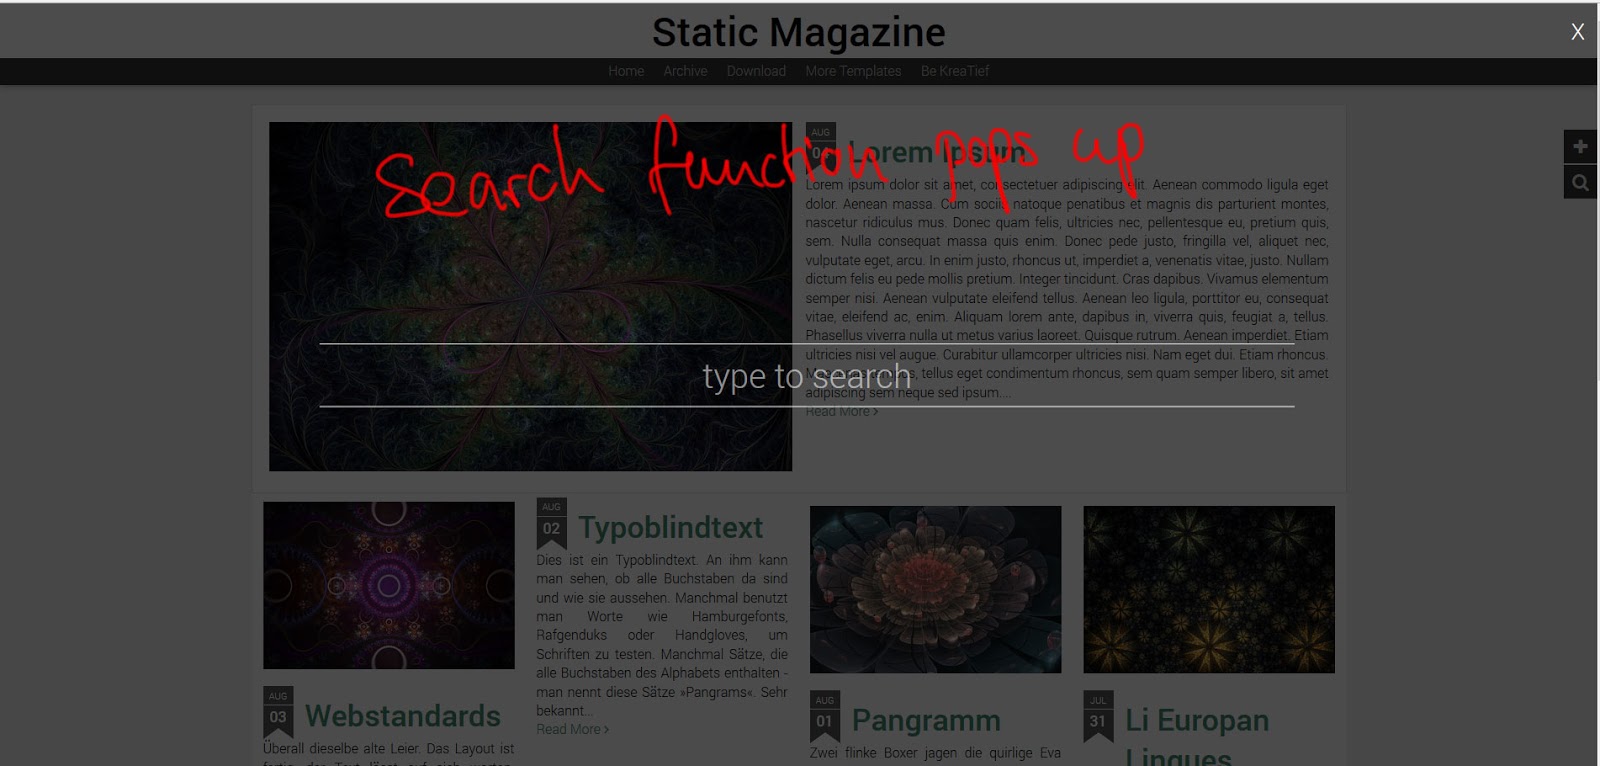
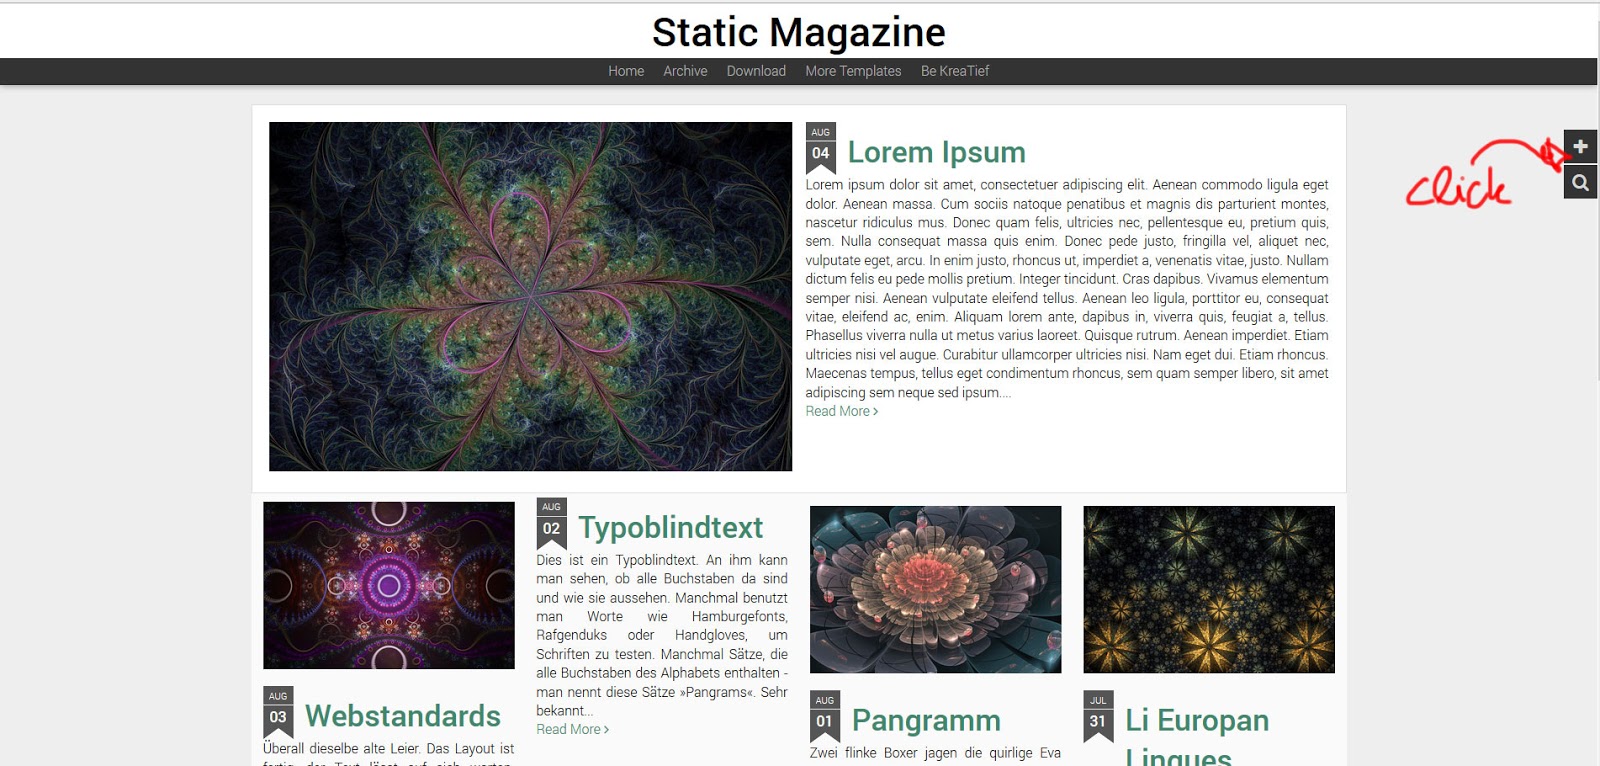
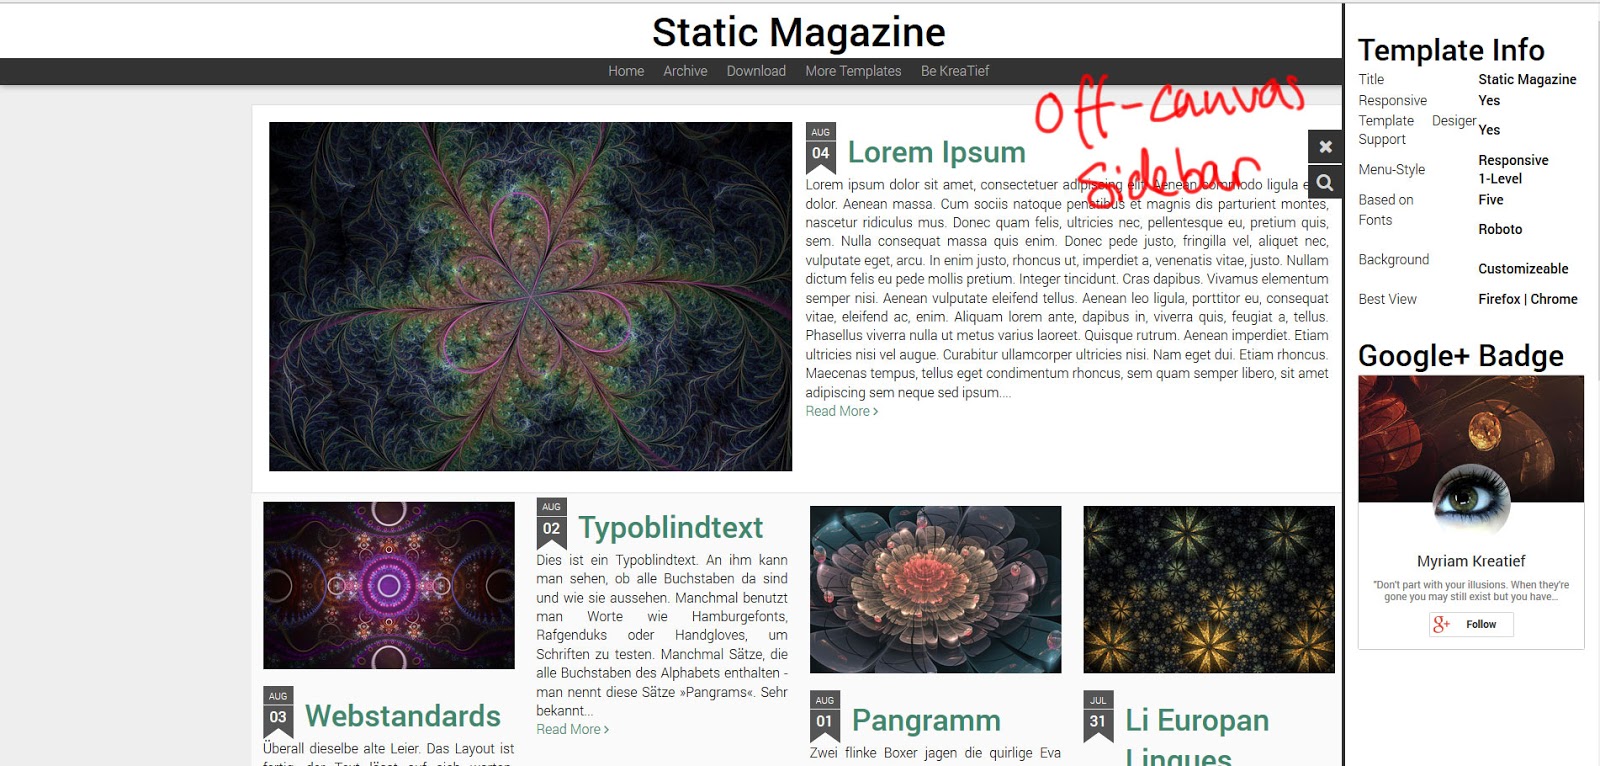
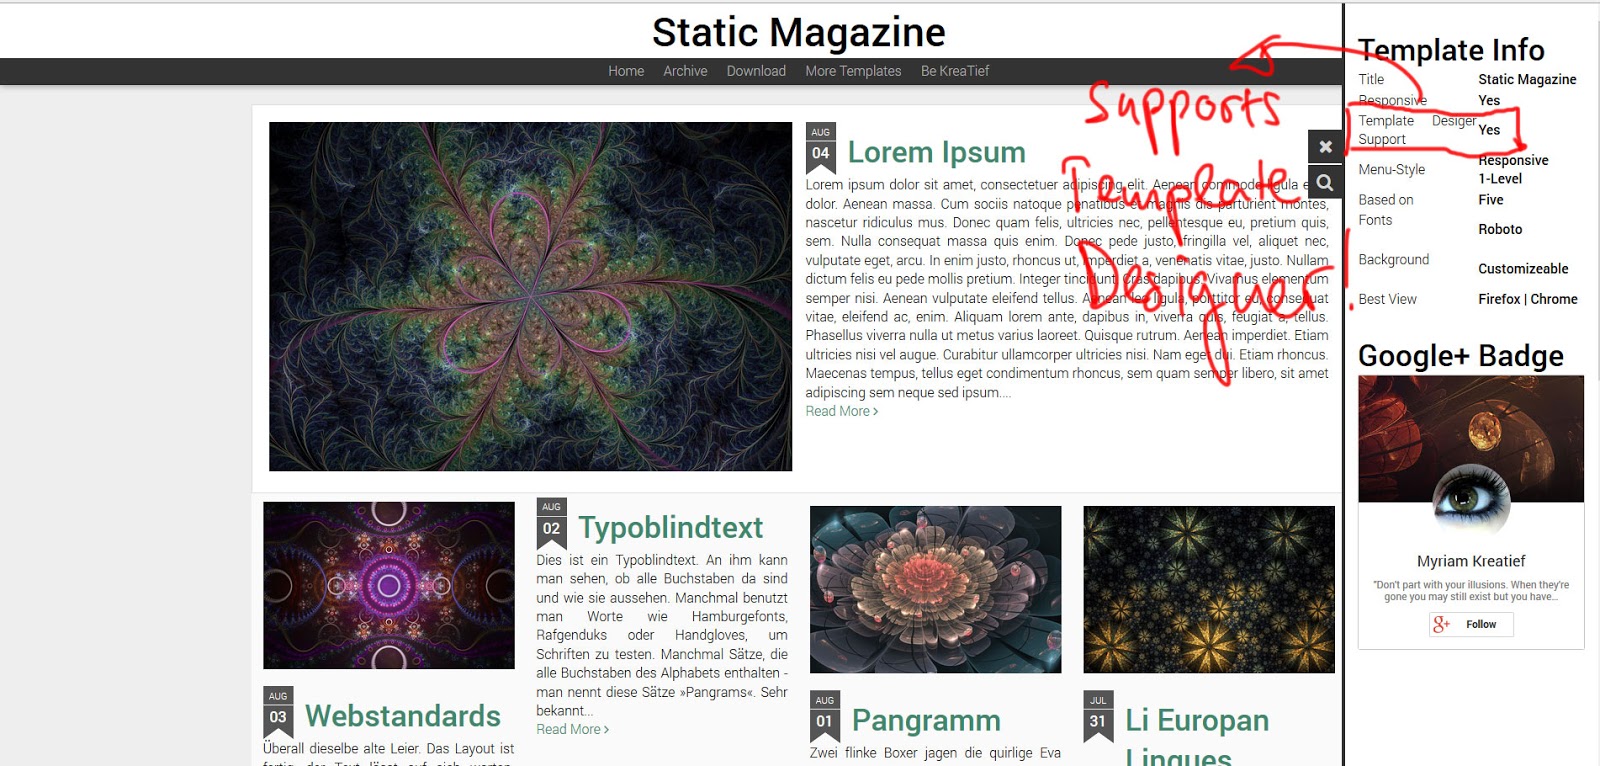
Hallo und herzlich Willkommen auf der Demopage von Static Magazine. Ein Template inspiriert von der dynamischen Ansicht, aber bestehend auf statischem Code. Ich habe die Features übernommen, die mir gut gefallen haben und die, die mir weniger gefallen haben, durch andere ersetzt. So gibt es eine off-canvas Sidebar, in die jedes Gadget platziert werden kann, ein Overlay-Suchfeld und vieles mehr.

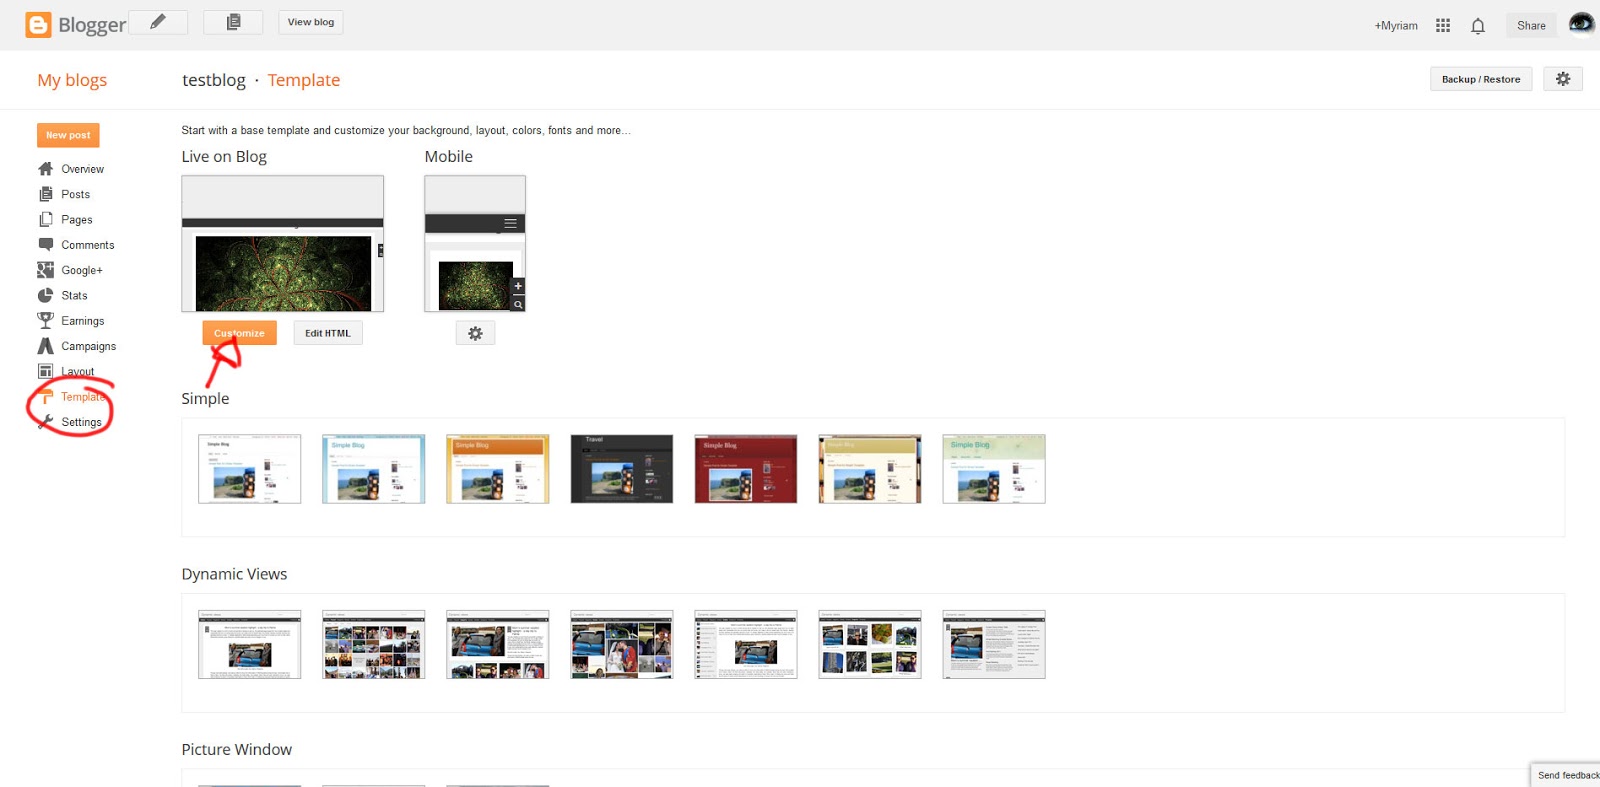
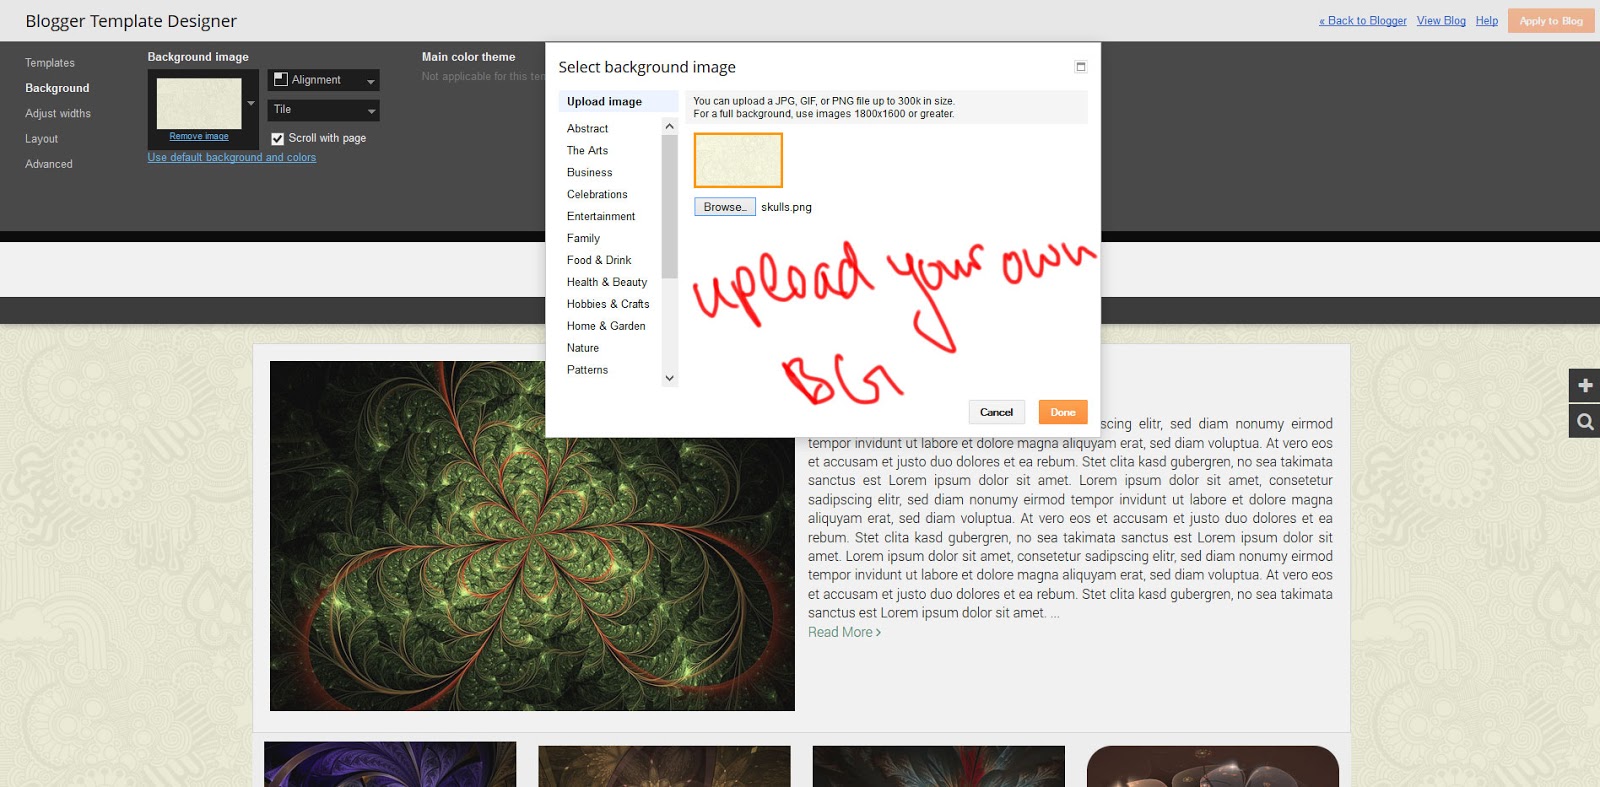
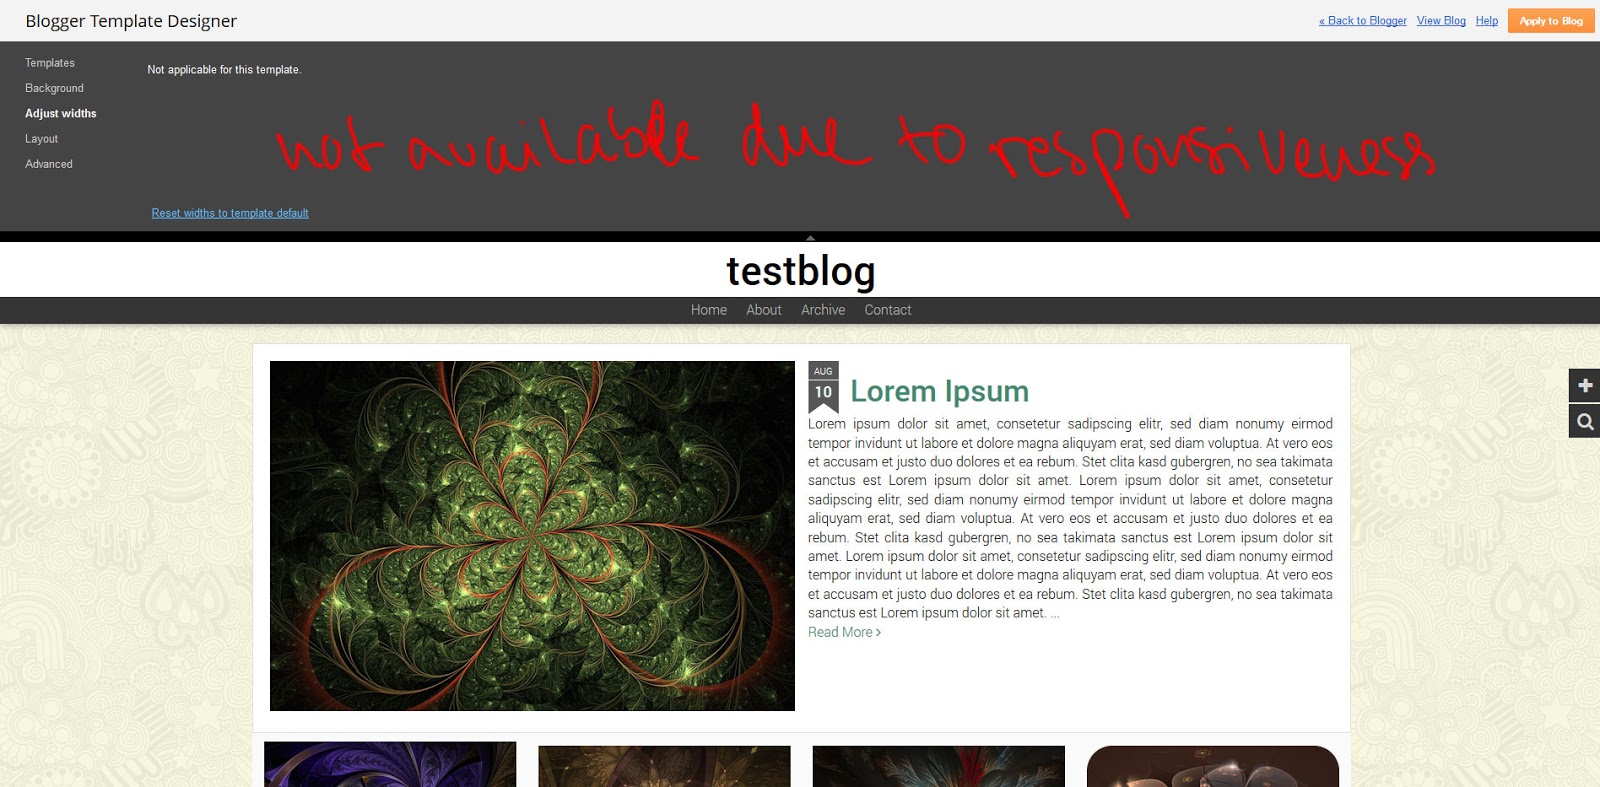
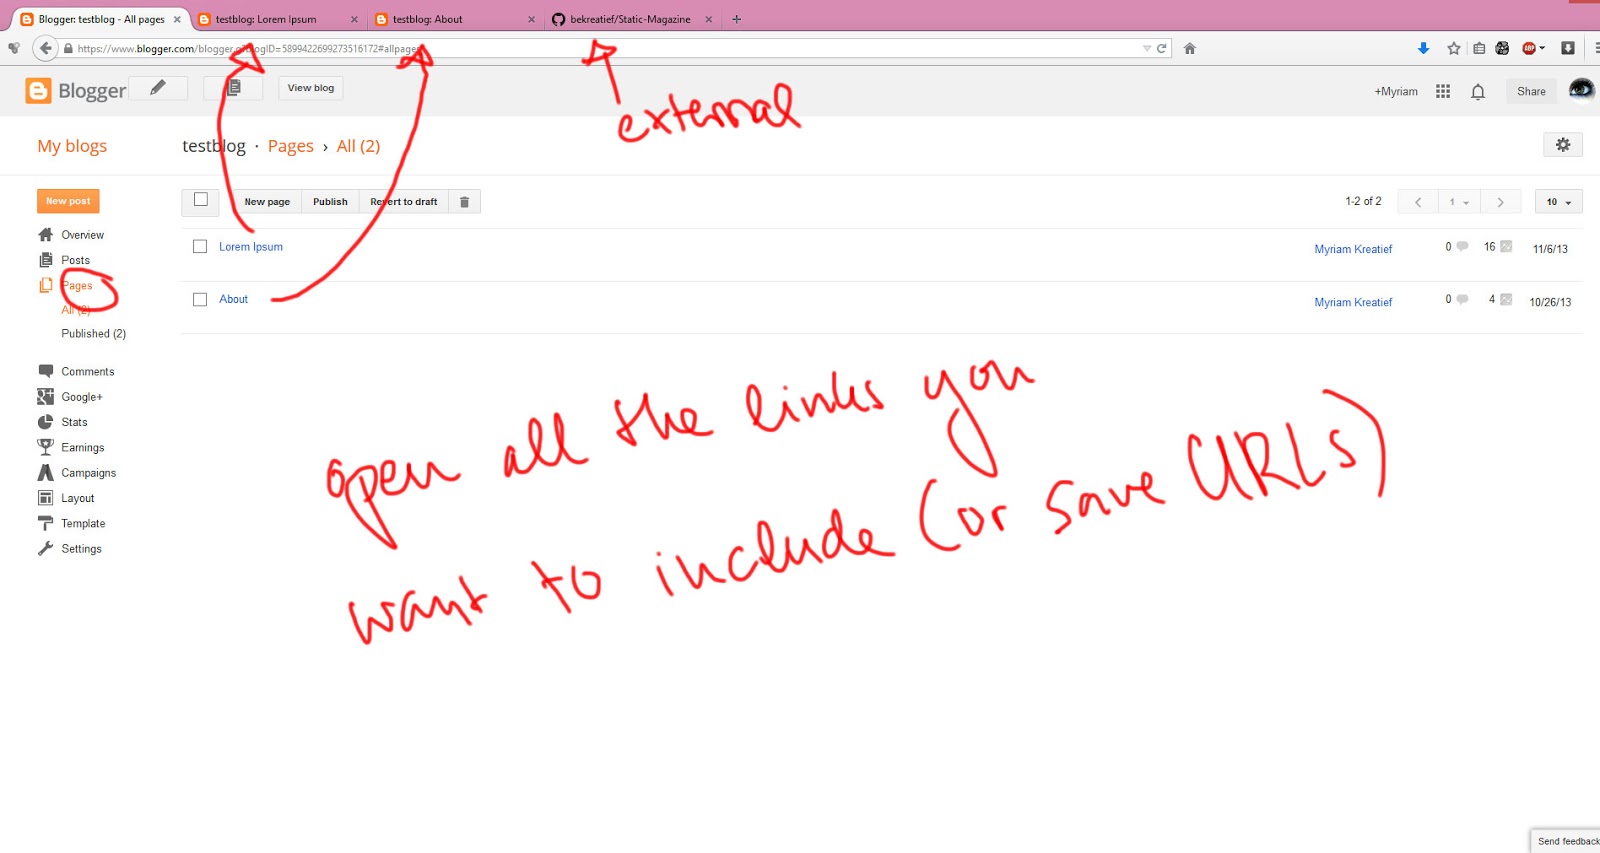
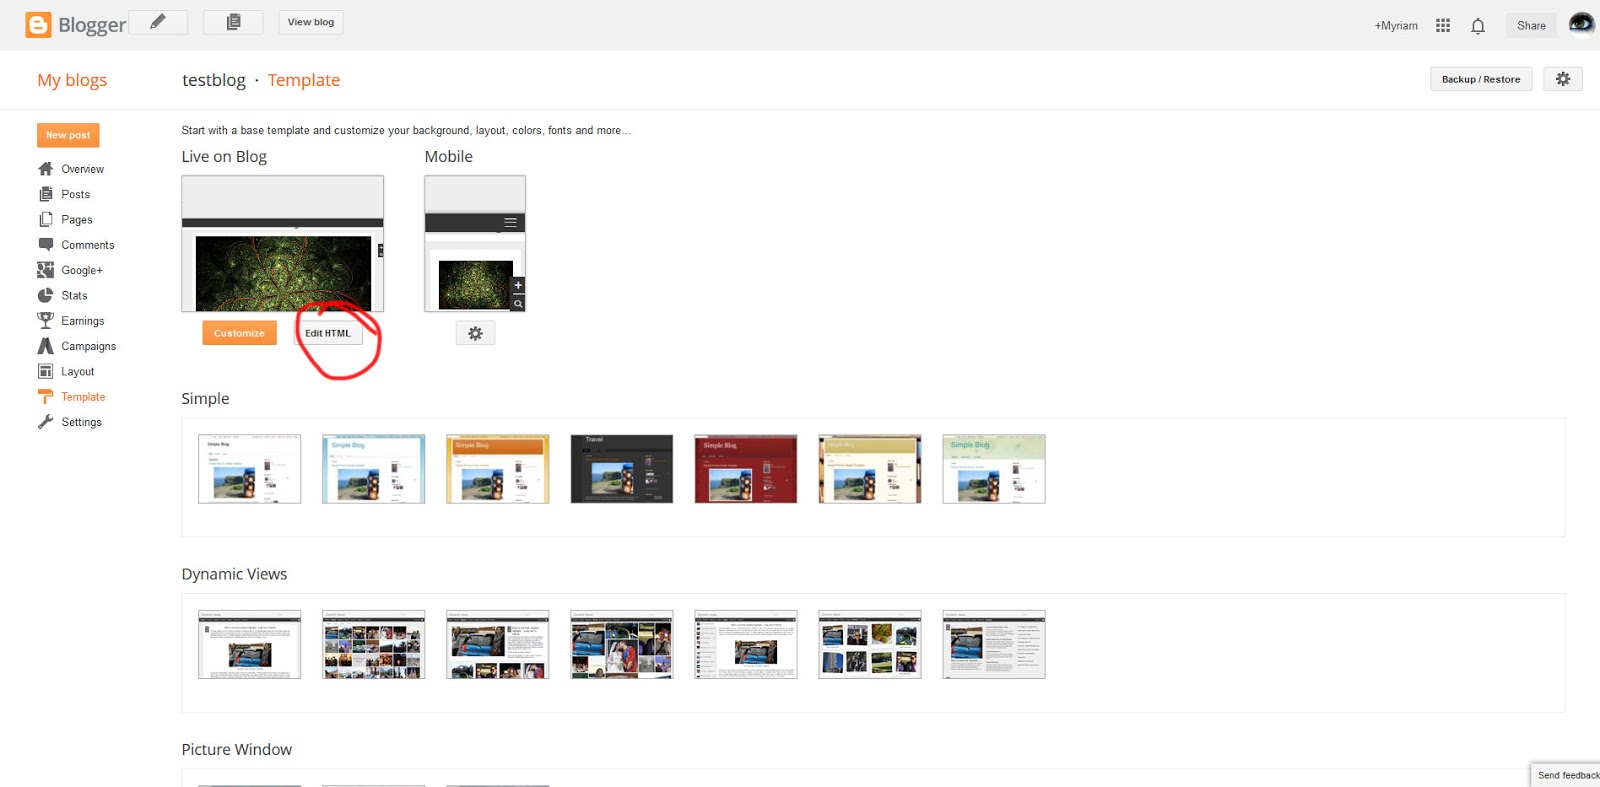
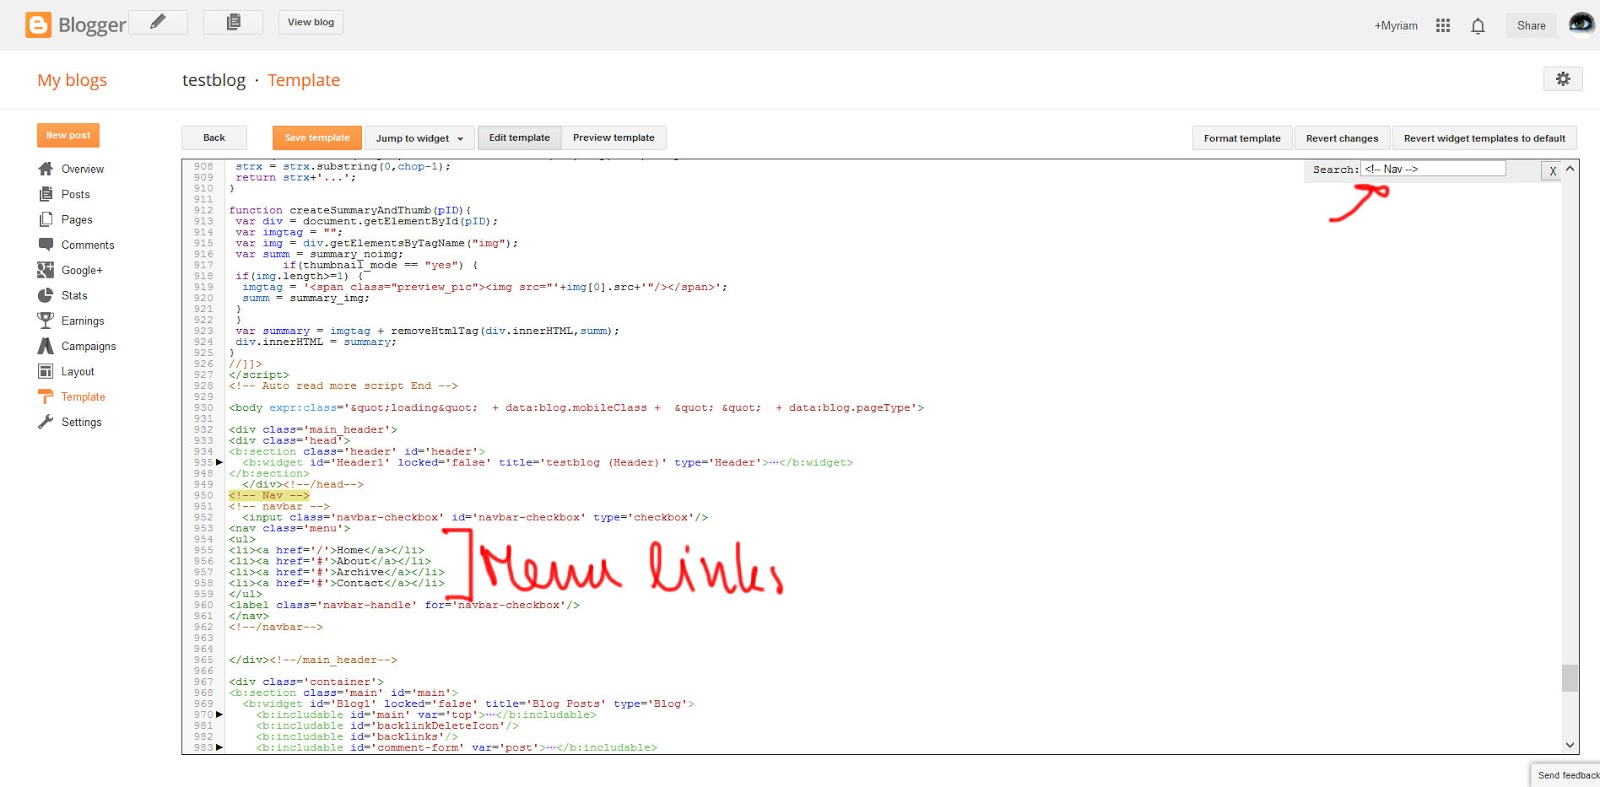
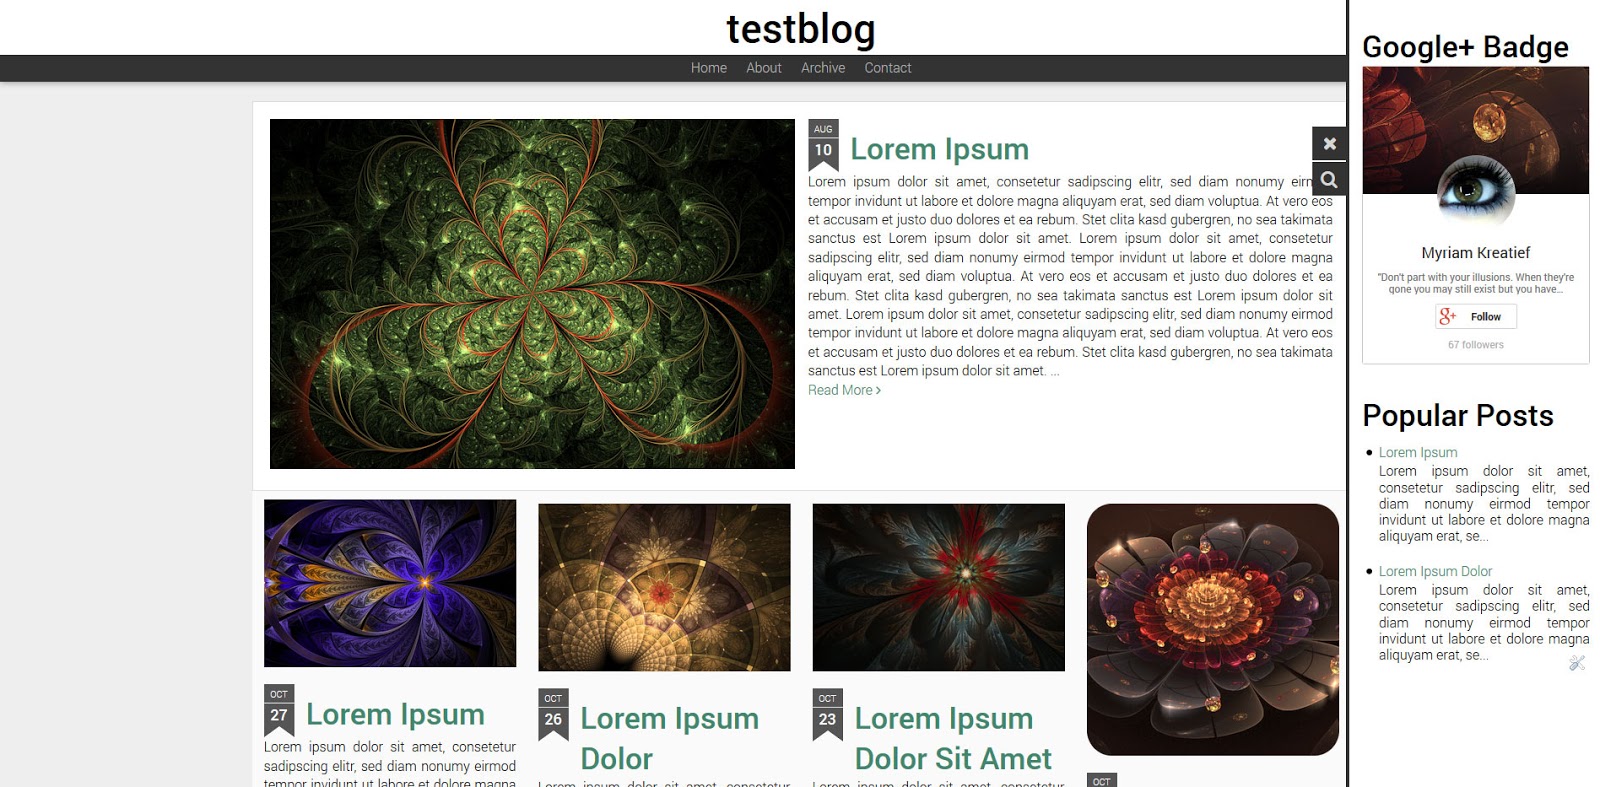
Hier findet ihr nicht nur eine Vorschau, wie das Template aussieht, sondern auch alle möglichen Tutorials, die die Installation und Einfindung ins Template erleichtern sollen.

Hello and Welcome to the demopage of static magazone. A template inspired by the blogger dynamic views, but written in sttic code. I took the features of the dynamic template that I liked and changed up the ones I didn't like too much. This template includes a off-canvas sidebar as well as a overlay search field and it is fully customizeable with the template designer. On this page you'll find all kinds of tutorials and an example of what static magazine looks like.


Read More

Update

Die Sidebar ist nicht mitgescrollt. Dieses Problem ist mittlerweile behoben. Ein Blick auf Github und ihr könnt die Änderung sehen und in eurem Template übernehmen.

The sidebar was not scrolling. I fixed the problem. Just have a look at GitHub and you can see the difference. :)
Read More

Download

Ich habe vor einer Weile beschlossen meine Templates von nun an in GitHub zu platzieren, weil ihr dort vor allem Änderungen auf einen Blick sehen könnt. Von dort könnt ihr Static Magazine herunterladen.

I decided to upload my templates to GitHub because it is easier to see changes and it's easy to download. This is where you get static Magazine

Download Static Magazine


Klickt auf den download-button und ladet euch den .zip-Ordner herunter. Diesen müsst ihr dann extrahieren und darin findet ihr dann die xml-Datei, die ihr bei der Installation verwenden müsst.

Click on the download button and save the .zip-folder. You have to extract all the files and then you'll find the xml-file inside, which will be needed for installation.


Read More

Install

Die Installation von Static Magazine ist im Grunde ganz simpel, dennoch erfordert es ein paar Schritte, damit alles richtig funtkioniert.
Etwas Vorarbeit muss geleistet werden. Wenn ihr mit einem Blogger-Blog beginnt, solltet ihr auf jeden Fall die beiden hartnäckigsten Gadgets vorher entfernen. Die Navbar und die Attribution. Diese beiden sind gesperrt und lassen sich in der Layout-Ansicht nicht entfernen. Früher konnte man sie einfach unfixen und dann löschen, aber mittlerweile braucht es etwas härtere Massnahmen, einfach manuell aus dem Code löschen geht am schnellsten und wirkt sofort.

Installing the template is basically very simple, but you still have to follow some steps until it all looks right.
We have to do some prep work, by removing the most annoying widgets of blogger. The navbar and atribution. We will do this by just deleting the code.


Zuerst müssen wir aber einstellen, dass die mobile Ansicht benutzerdefiniert ist. Dazu einfach in Template die entsprechend im Dropdown wählen.

But first we have to make sure our mobile template is set to custom.


Okay, die Gadgets löschen wir im Code, geht also ins HTML und wählt oben im Dropdown das ensprechende Gadget aus. Dann löscht das, was in den Bildern markiert ist.

Okay, we delete the widgets in the code, so open up your HTML choose the widgets in the dropdown and then delete what I show you in the pictures.


Nachdem das getan ist, kann das Template hochgeladen werden.

After that's done, you can upload the template.>


Ladet die xml-Datei hoch, die ihr eben heruntergeladen habt.

Upload the xml-file you downloaded before.


Habt ihr Gadgets, wird das nun wahrscheinlich so aussehen. Die Gadgets müssen erst noch in der Layout-Ansicht an den richtigen Ort verschoben werden.

If you are using Gadgets it'll probably look like this. The widgets have to be moved to the right section in the layout tab.


Für die richtige Darstellung der Datumsanzeige, müsst ihr noch das richtige Format auswählen.

In order for the date display to look correct, you have to choose the right date format.


Read More

Template Designer


Das Template bietet vollen Support für den Vorlagendesigner. Alles lässt sich ändern, über das eigene Hintergrundbild bis hin zu Farben und Schriften. Einzig die Grösse lässt sich nicht manuell einstellend, da das Design responsive ist und Blogger nur px unterstützt.

The template fully supports the template designer. Everything can be changed. From the background image to colors and fonts. Only the sizes cannot be changed since blogger only supports px and a responsive template uses percents for widths.


Read More

Set Up Menu

Das Menu ist eine simple HTML-Liste und ist ganz leicht in Betrieb zu nehmen. Beginnt damit, alle Links, die ihr braucht zu öffnen oder irgendwo zu speichern.

The menu is a simple html list and very easy to set up. Start by opening up every link you need in a new tab or just save them somewhere


Geht dann ins HTML und sucht nach <!-- Nav -->

Open your HTML and search for <!-- Nav -->


Unten drunter fügt ihr dann eure Links ein.

Underneath you'll add your links


Für den nächsten Schritt müsst ihr den Collapsepunkt berechnen. Ich habe Chrome und Opera getestet, doch beide scheinen diese tolle Firefox-Funktion nicht zu haben, also für diesen Schritt am einfachsten Firefox verwenden, oder Browserfenster verkleinern und dann nachmessen, wie viele Pixel das waren.

For the next step we need to find a collapsepoint for the responsive menu. I checked chrome and opera, but both seem not to have this really great firefox function that I will be using, so get firefox or resize your browserwindow and measure the pixels.


Define when to collapse Menu

Okay, rechtsklick und dann Element untersuchen auswählen.

Okay, right-click and then choose inspect element


Der Code öffnet sich (entweder rechts oder unten) und dann könnt ihr in der oberen Leiste das Symbol auswählen, das ich im Bild markiert habe. Dort könnt ihr euren Blog responsive ansehen, mit verschiedenen Bildschrimgrössen. Die Seiten lassen sich zusammenschieben und oben seht ihr wie viele Pixel das sind. Ihr schiebt das so lange zusmamen, bis das Menu auf zwei Zeilen ist. Diese Zahl merkt ihr euch. Ihr braucht für den collapse point also etwas, dass ein kleines bisschen grösser ist.

The code pops open (right or at the bottom) and you can choose the symbol I marked in the picture. Thhere you can see your blog responsively, and Firefox will tell you the resolution. You can move the sides. You want to reduce the width until the menu breaks into two lines. The collapse point you need is a little bit bigger than that.


Geht in den Code uns sucht dann nach dem Media Query, dass den Wechsel einläutet. Dann gebt ihr dort euren Wert an. (und testet dann noch einmal mit firefox ob's funktioniert hat)

Open your HTML and search for the media query at which point the mobile menu will be displayed. Add your number (and check in firefox to see if it works)

@media screen and (max-width: 100px)


Read More

Add Header Image

Das Template hat zwar ein Header-Gadget, allerdings müsste dafür noch einiges mehr gemacht werden, als wenn man manuell einen einbaut. Deswegen im folgenden eine Anleitung, wie ihr das macht.

The template does feature a header gadget, but getting an image responsive would require much more work if uploaded through the header widget instead of just adding manually, which is my preferred method, thus the one I will explain in this tutorial.

1. Create Header

Als erstes braucht ihr einen Header. Also ran ans Grafikprogramm und gestalten.

First of all you need a header image. So get your programs out and get designing.


2. Upload Header

Danach müsst ihr das Bild irgendwo hochladen, wo ihr den Bildlink bekommt, also bspweise drive, g+, blogger oder was ganz kreatives

Then you need to upload the image somewhere where you have the image link. So for example google drive, g+, blogger or something a little more exotic


3. Include Code

Geht ins HTML und sucht nach class='head'.

Open up your code and search for class='head'


Darunter befindet sich die Section in dem das Widget drin ist. Das löschen wir. (wer nicht ganz so permanent sein will, darf die Stelle auch gerne zwischen <!-- CODE --> auskommentieren)

Underneath you'll find the section which contains the widget. We delete that (who does not want to be quite as permanent can also just exclude it, by wrapping the code in a comment <!-- CODE -->


Dann fügen wir unser Bild an der Stelle ein. Für gewöhnlich sind Header Home-Links, also packen wir den image-Tag in einem Link, der mit einem Slash versehen ist, das führt dann zur Homepage.

At that spot we add our new code. usually a header image acts as a home link, so we wrap the image tag in a link with an href to a slash, which always brings us to the homepage.

<!-- Header Image Code -->
<a href="/"><img src="IMGLINK"/></a>


Womöglich ist das dann aber viel zu gross.

It is probable, that this happened.


4. Fix CSS

Falls das der Fall ist, müssen wir nochmal in die CSS. Sucht nach .head und darunter fügen wir CSS für das Bild ein. Wir geben dem ganze eine maximale Höhe. In meinem Fall war das 200px.

If that's the case, we have to go back to change the CSS. Search for .head and underneath add the CSS for the image. We add a max-height to it. In my case it was 200px.

.head img{
    max-height: 200px;
    max-width: 100%;
}


Zwei Probleme bleiben. Unter dem Bild ist noch ein weisser Rand, der da nicht sein soll. Und das offensichtlich Problem, der Content wird verdeckt.

Two obvious flaws remain. Underneath the image we have a white space that should not be there and the more severe one, the header is still covering up content.


Der weisse Rand kommt vom line-height, das wir in .head definiert haben. Das entfernen wir und dieses Problem ist gelöst.

The white space comes from a line-height defined in .head. We are going to remove that and the problem is solved.


Für das andere Problem suchen wir nach .contianer und verändern den Wer von top.

For the other problem we search for .contianer and change the value of top.


Read More